Google, also known as “King of the Internet,” is crucial in the success of your business.
Whether your business is brand new or you are reanalyzing your marketing efforts, claiming your business on Google My Business is the first and ultimate step you should take.
Unless you are new to the internet, you probably know what a Google listing looks like (hint: it’s the large map that pops up when you type a business name into Google).
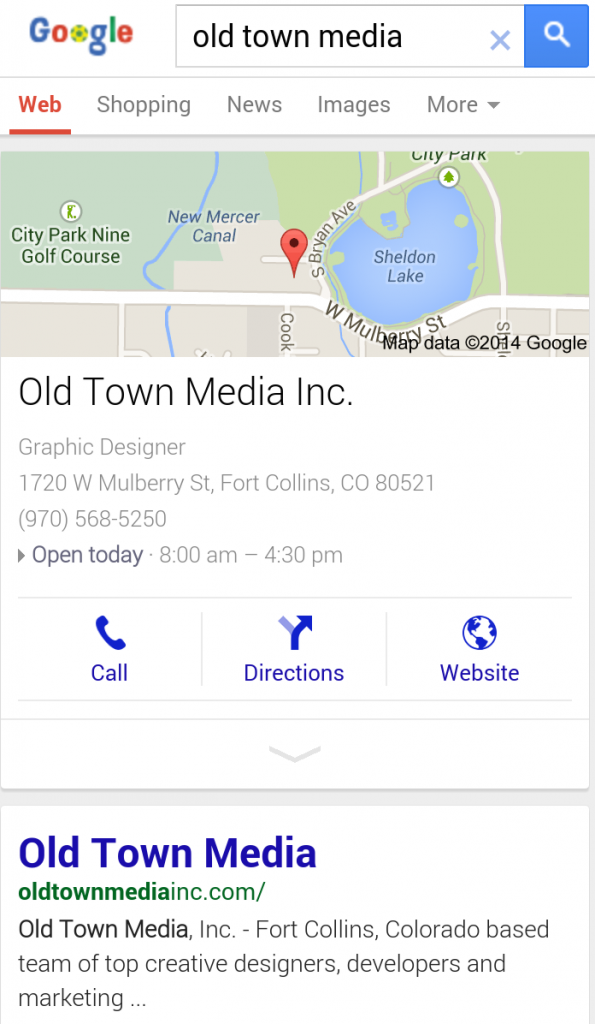
It is also the listing that pops up on your smart phone and gives you the option to Call and Get Directions via GPS. 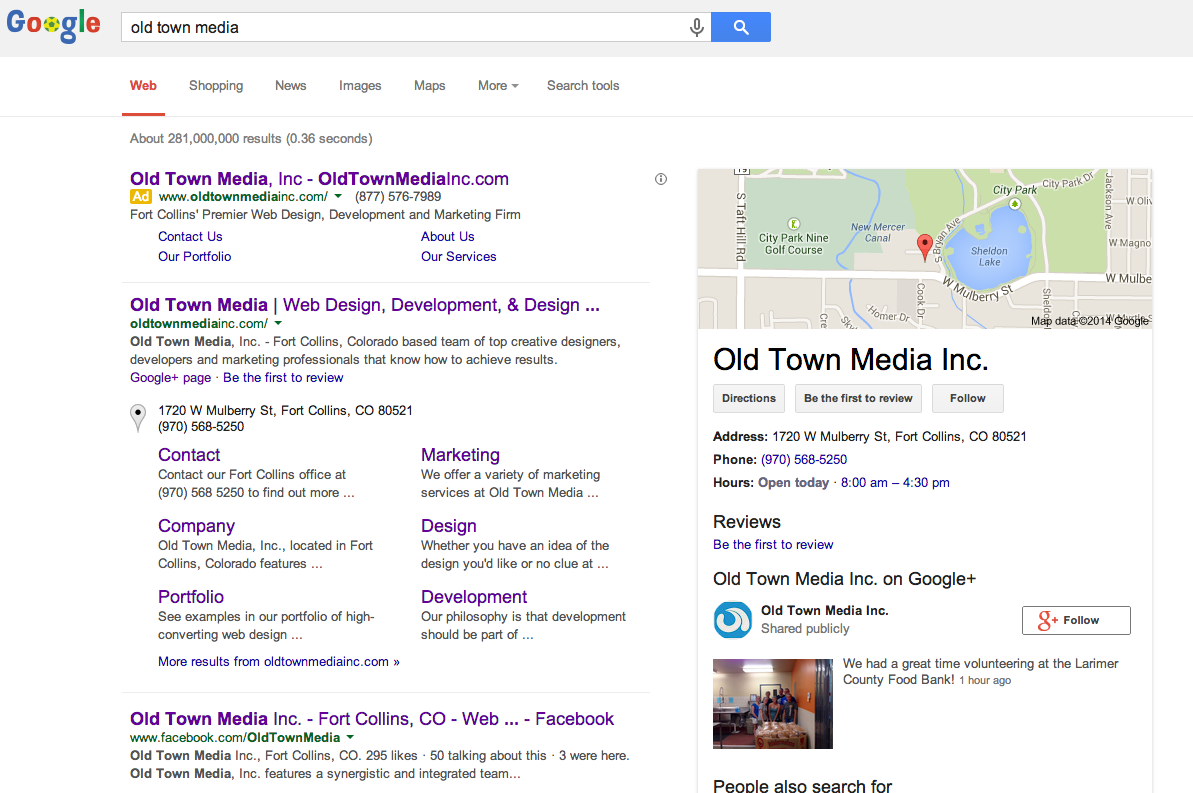
 Without actually creating a Google listing though, your business may not appear on the map and customers will not know you exist without visiting your website – scary.
So, to avoid making a huge marketing mistake by ignoring Google My Business, here is a picture tutorial to help you claim your business in less than 10 minutes.
Step 1: Start by going to www.google.com/business. Unless you already have a gmail account, you will need to create one and login.
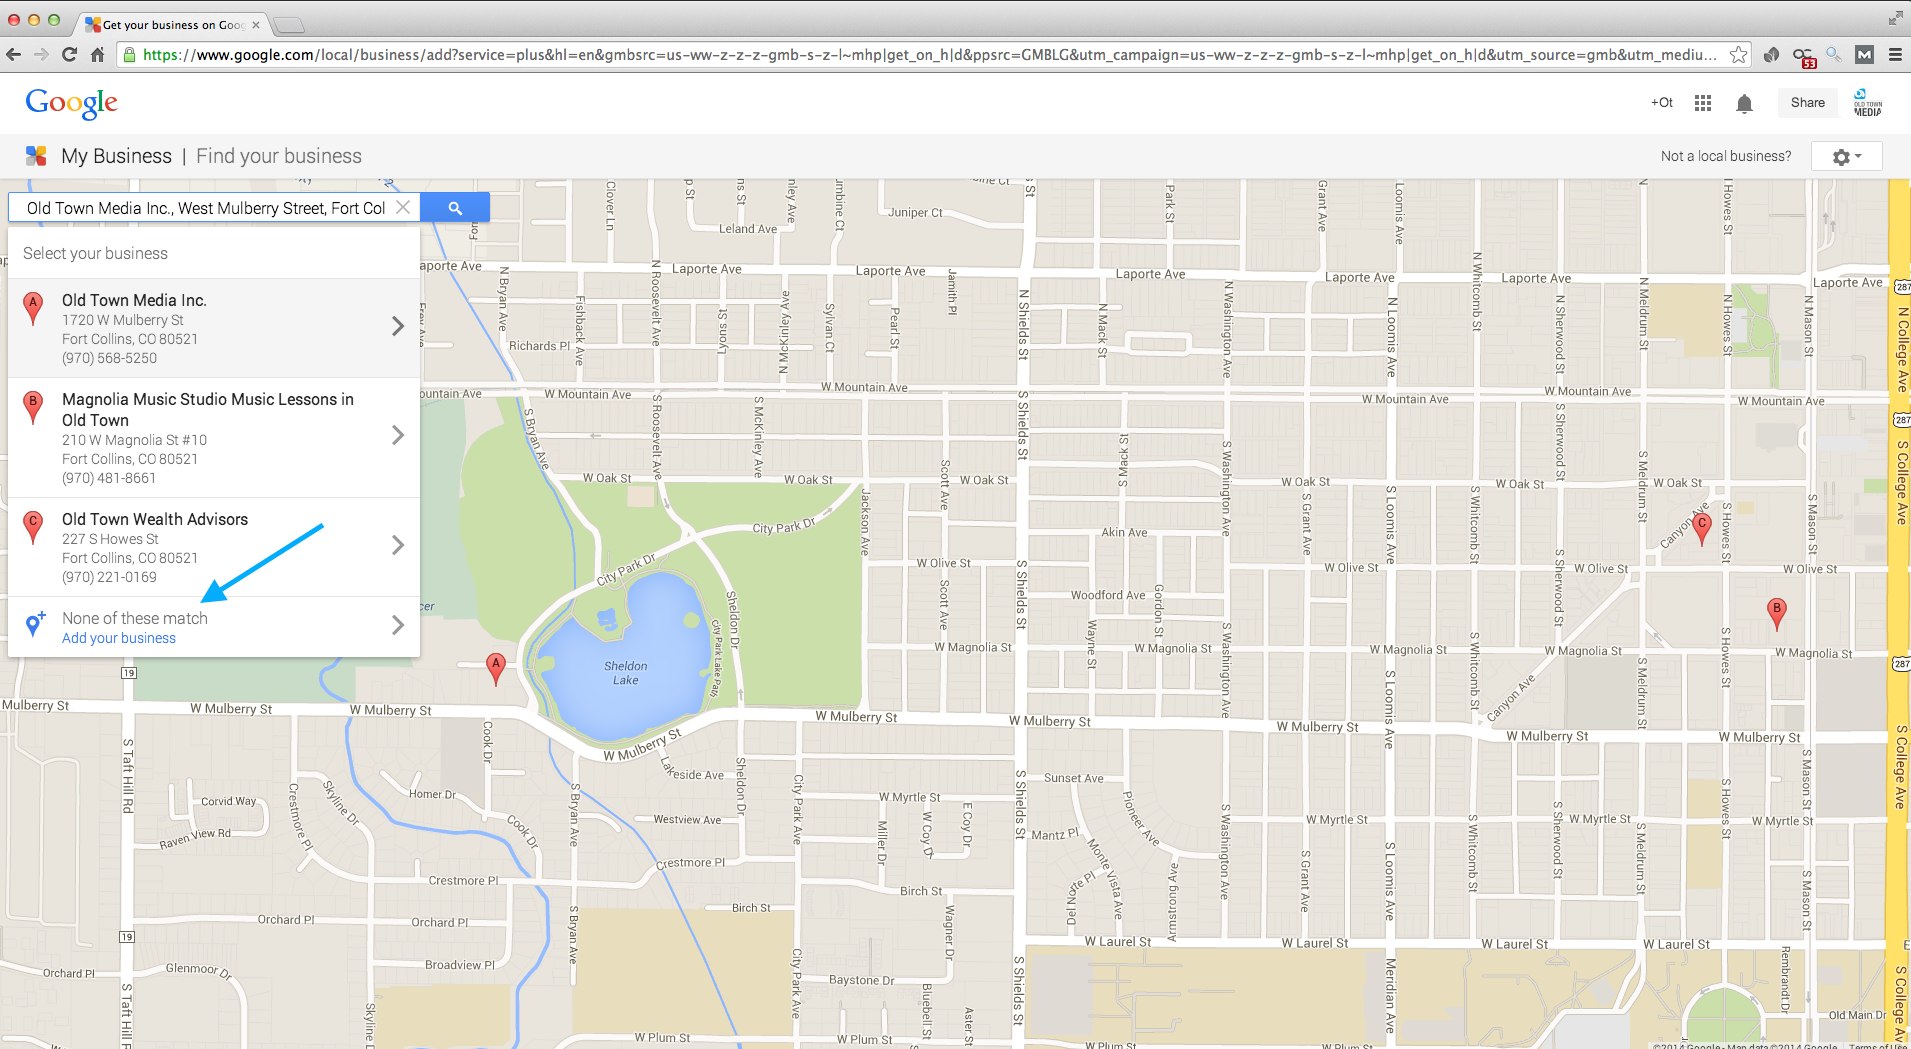
Step 2: Search for your business.
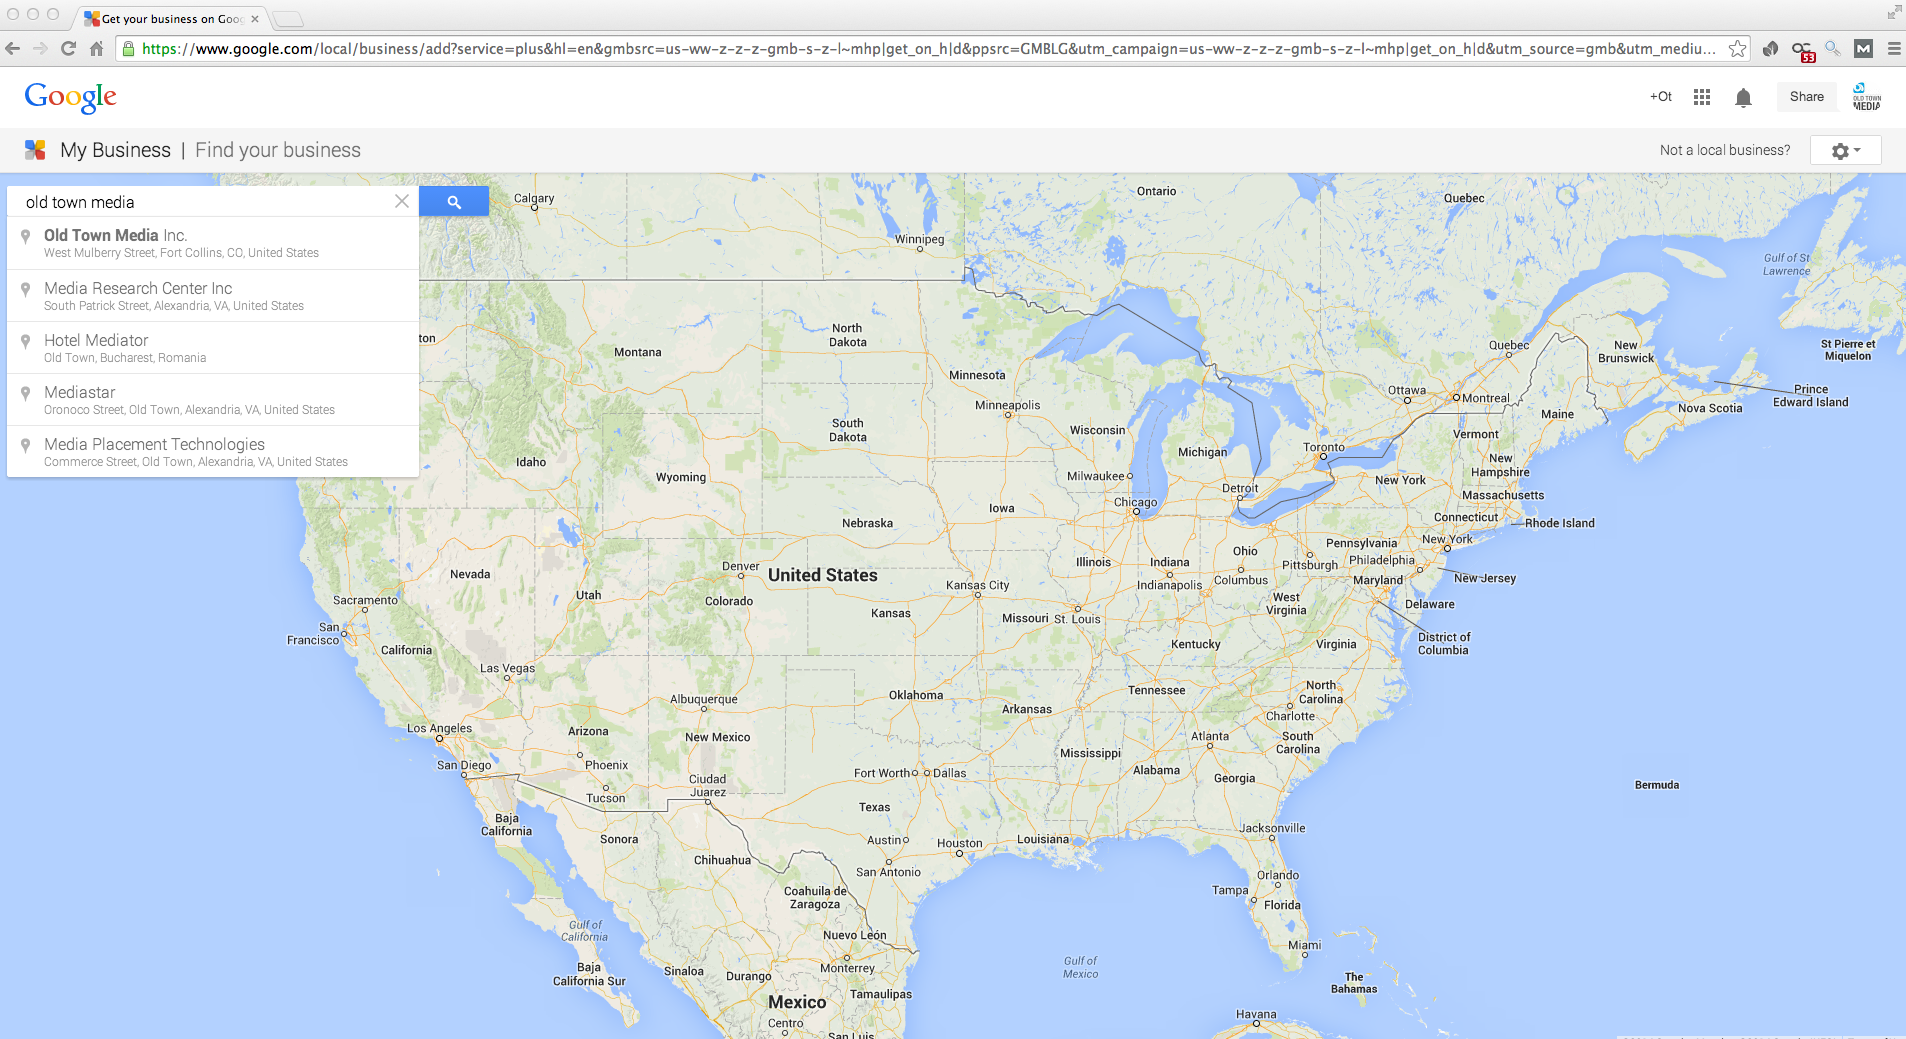
Step 3: If your business is already listed, select it and skip down to Step 7. If you do not see your business listed, click the Add your business link.
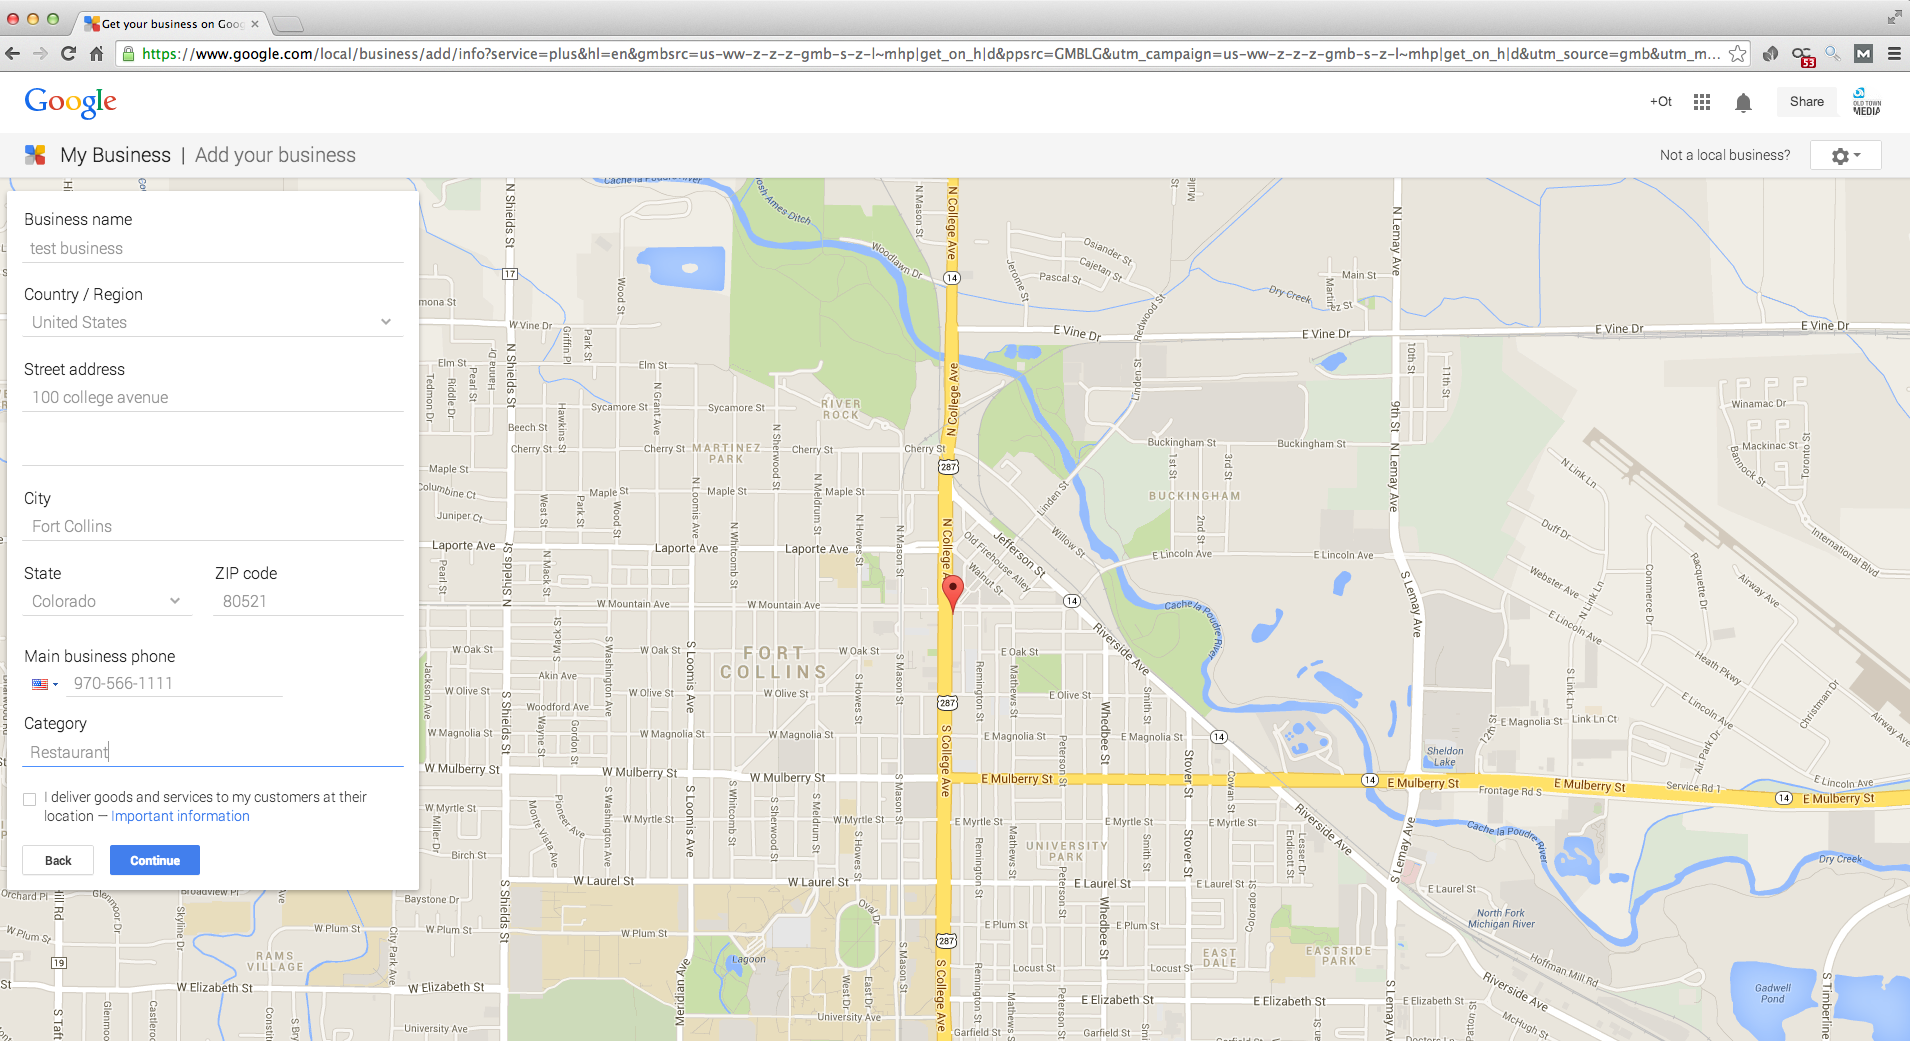
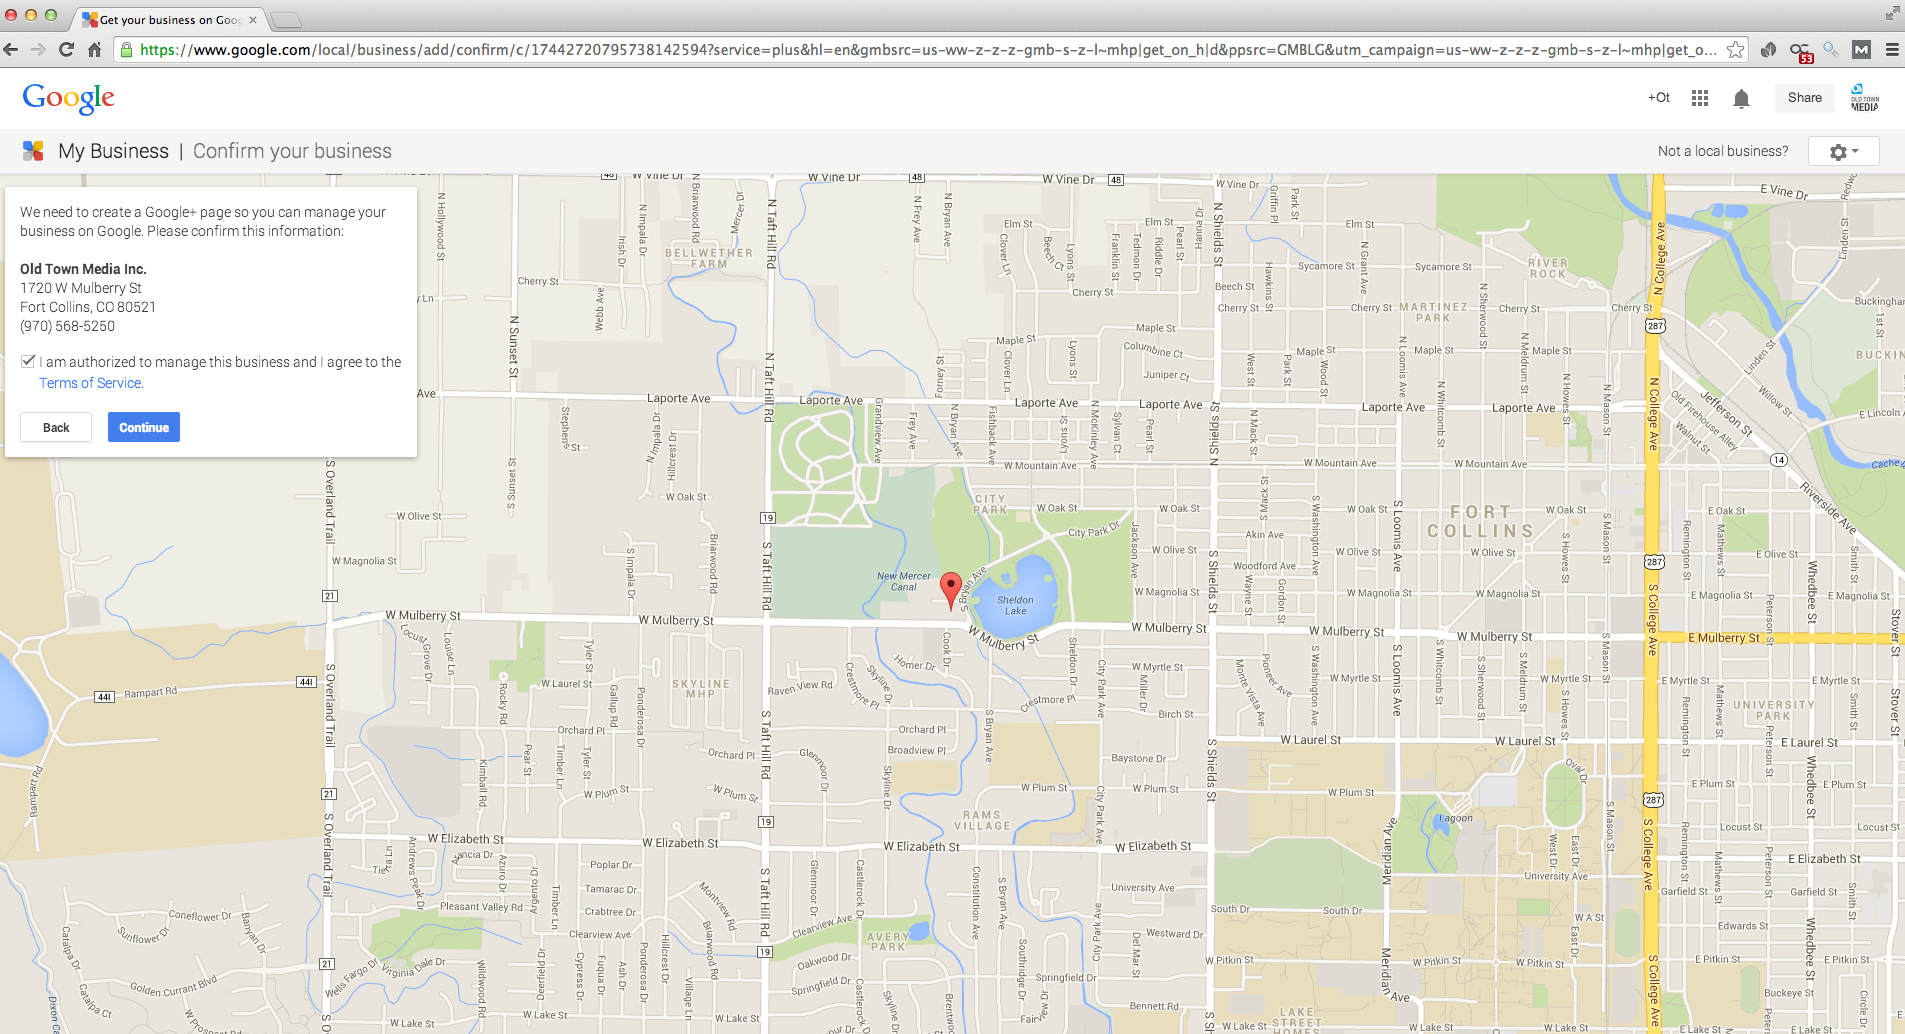
Step 4: Begin creating your listing by entering your business information.
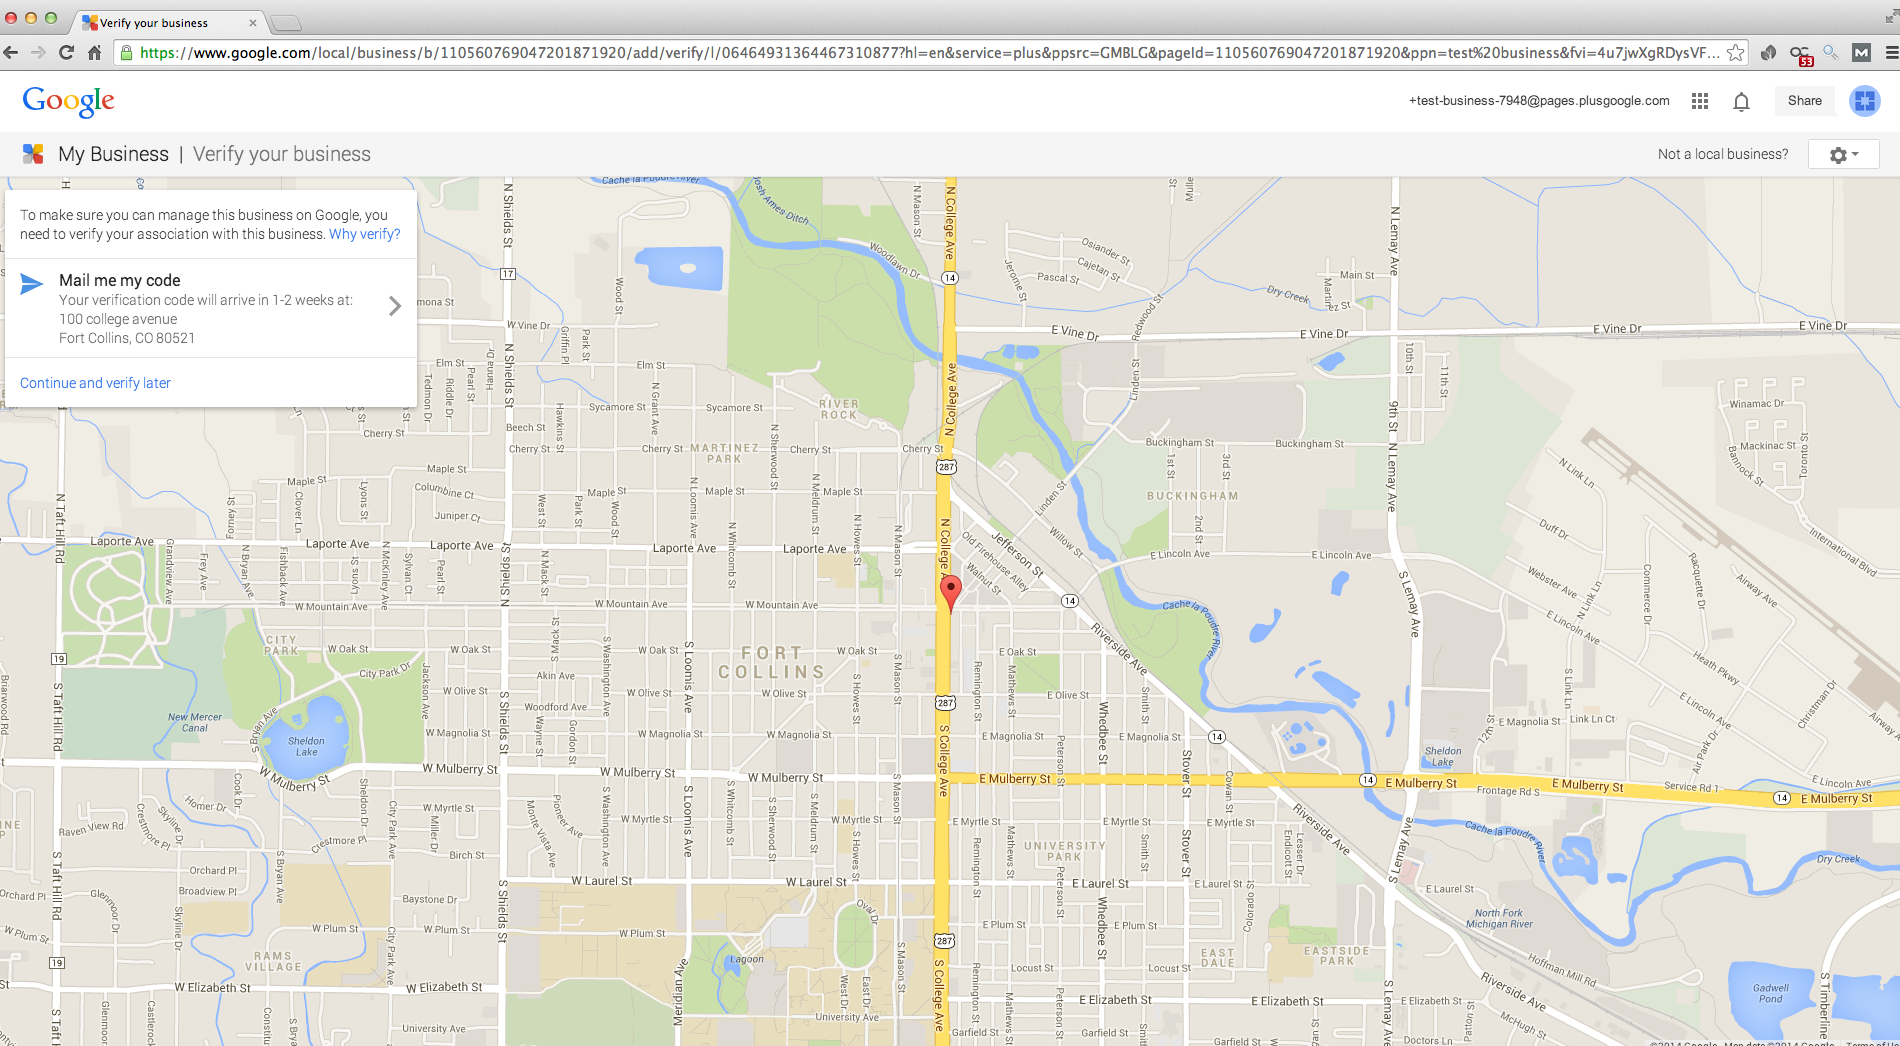
Step 5: Once you click Continue, Google will direct you to a verification page. To verify your listing, Google will mail you a postcard with a short code. It usually takes 1-2 weeks for the postcard to arrive.
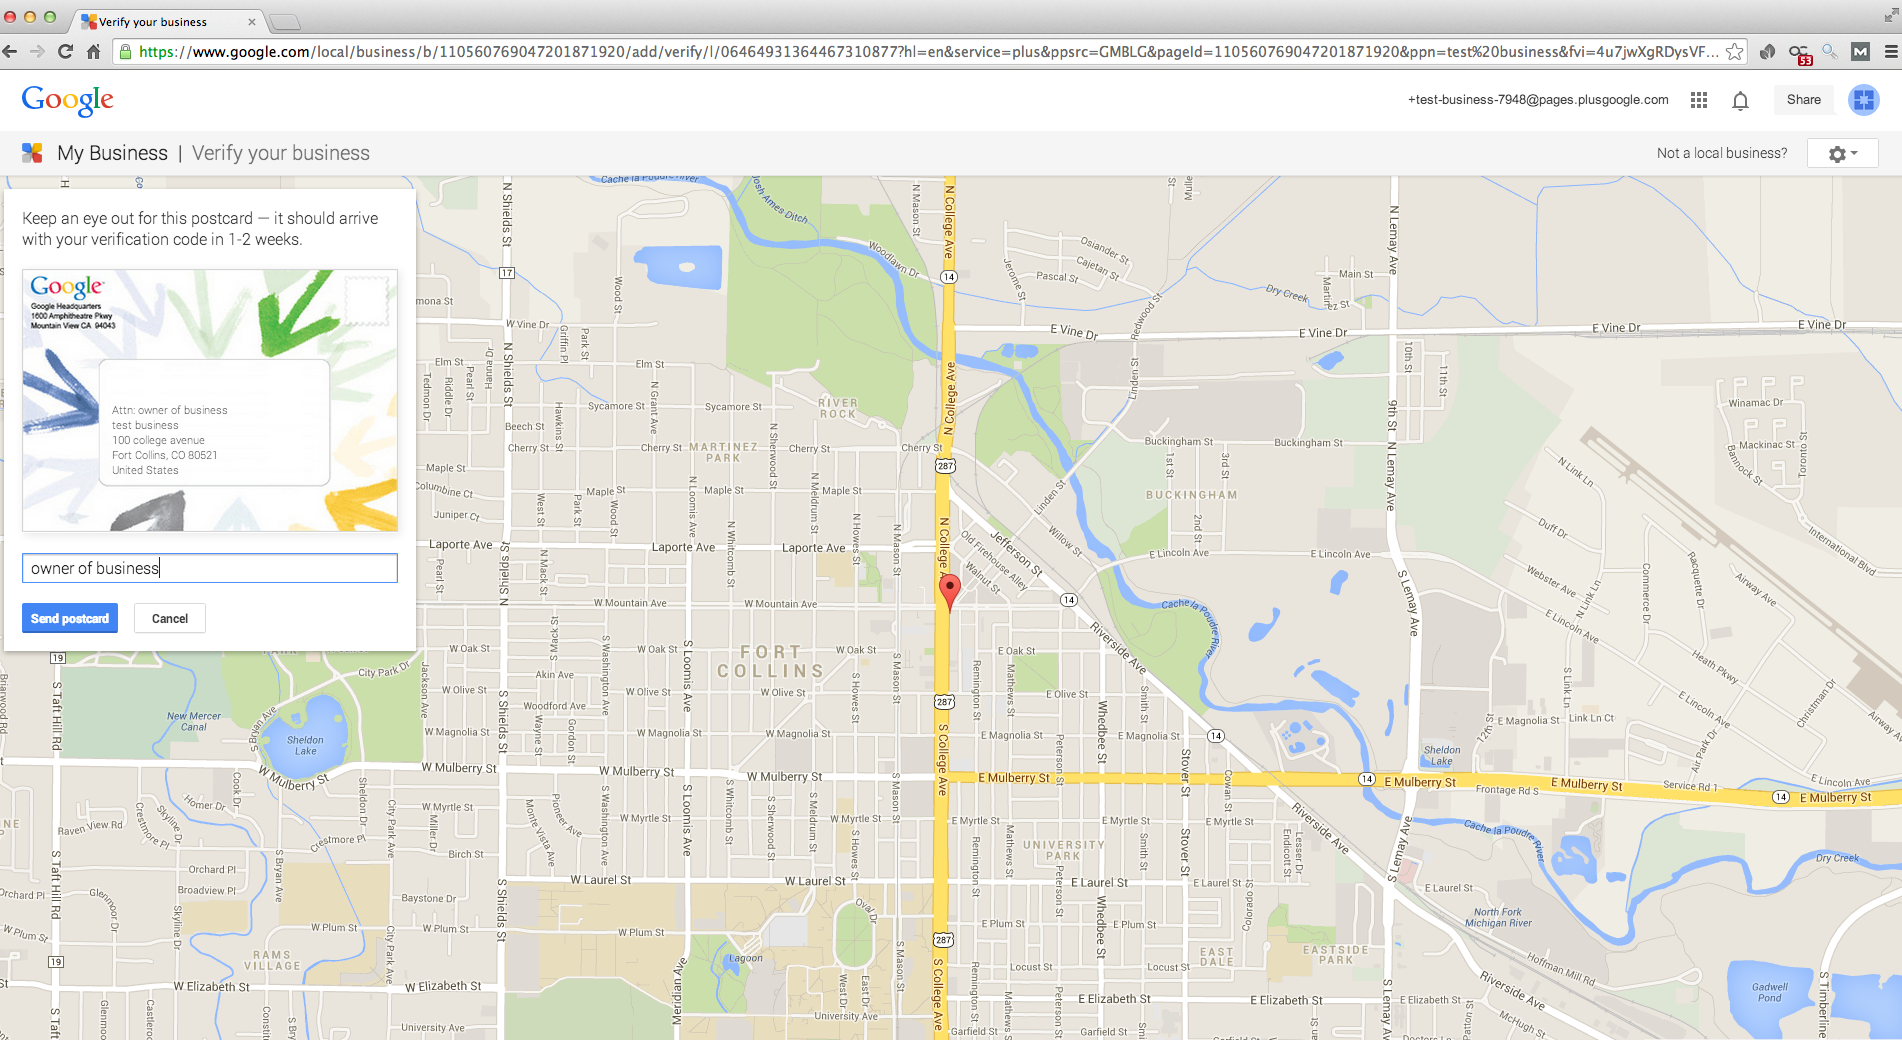
Step 6: Enter a recipient name and hit Send Postcard. Watch for it in the mail over the next two weeks and enter your code online once you receive it. Until then you can edit your Google+ page by uploading pictures, adding hours, a business description, etc. If you are adding a new business, skip the next few images and scroll down to Step 10 to see what your dashboard looks like.
Step 7: If your business was already listed and you don’t need to add it, select it from the list.
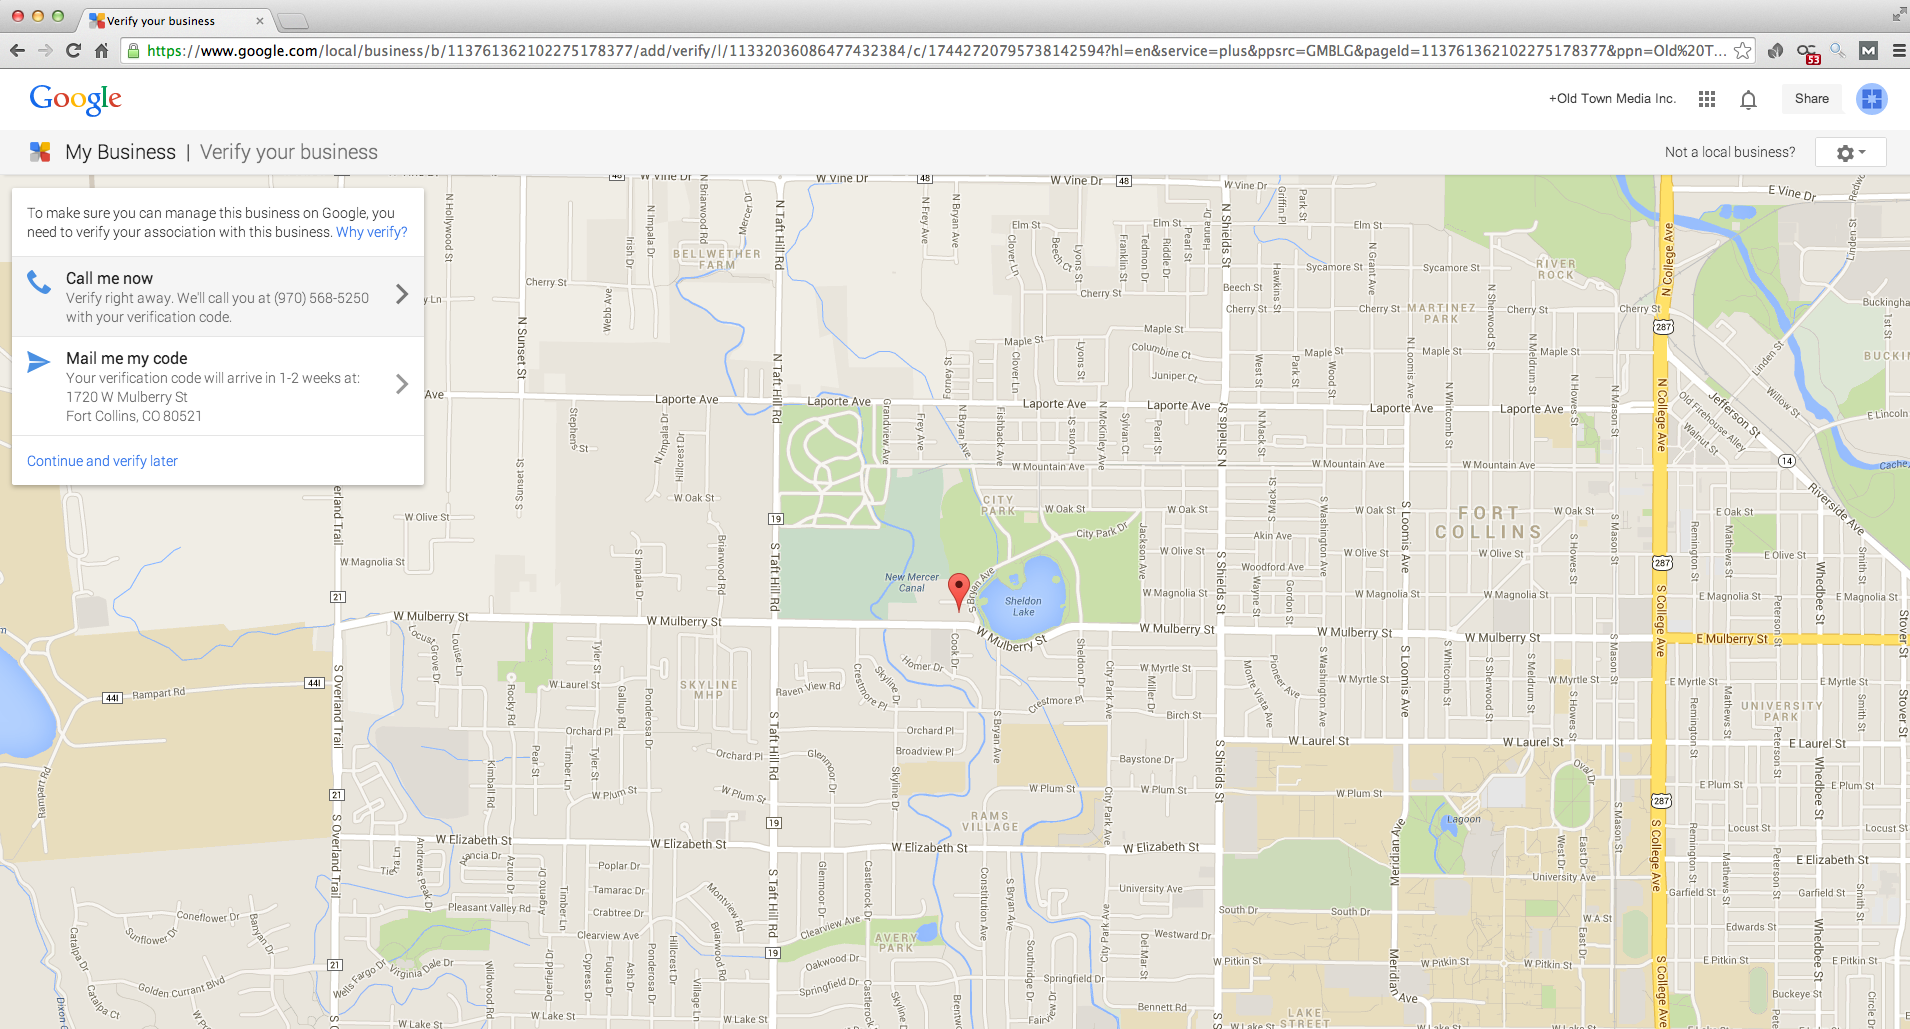
Step 8: Verify that you are the owner of the business by having Google call you or send you a postcard.
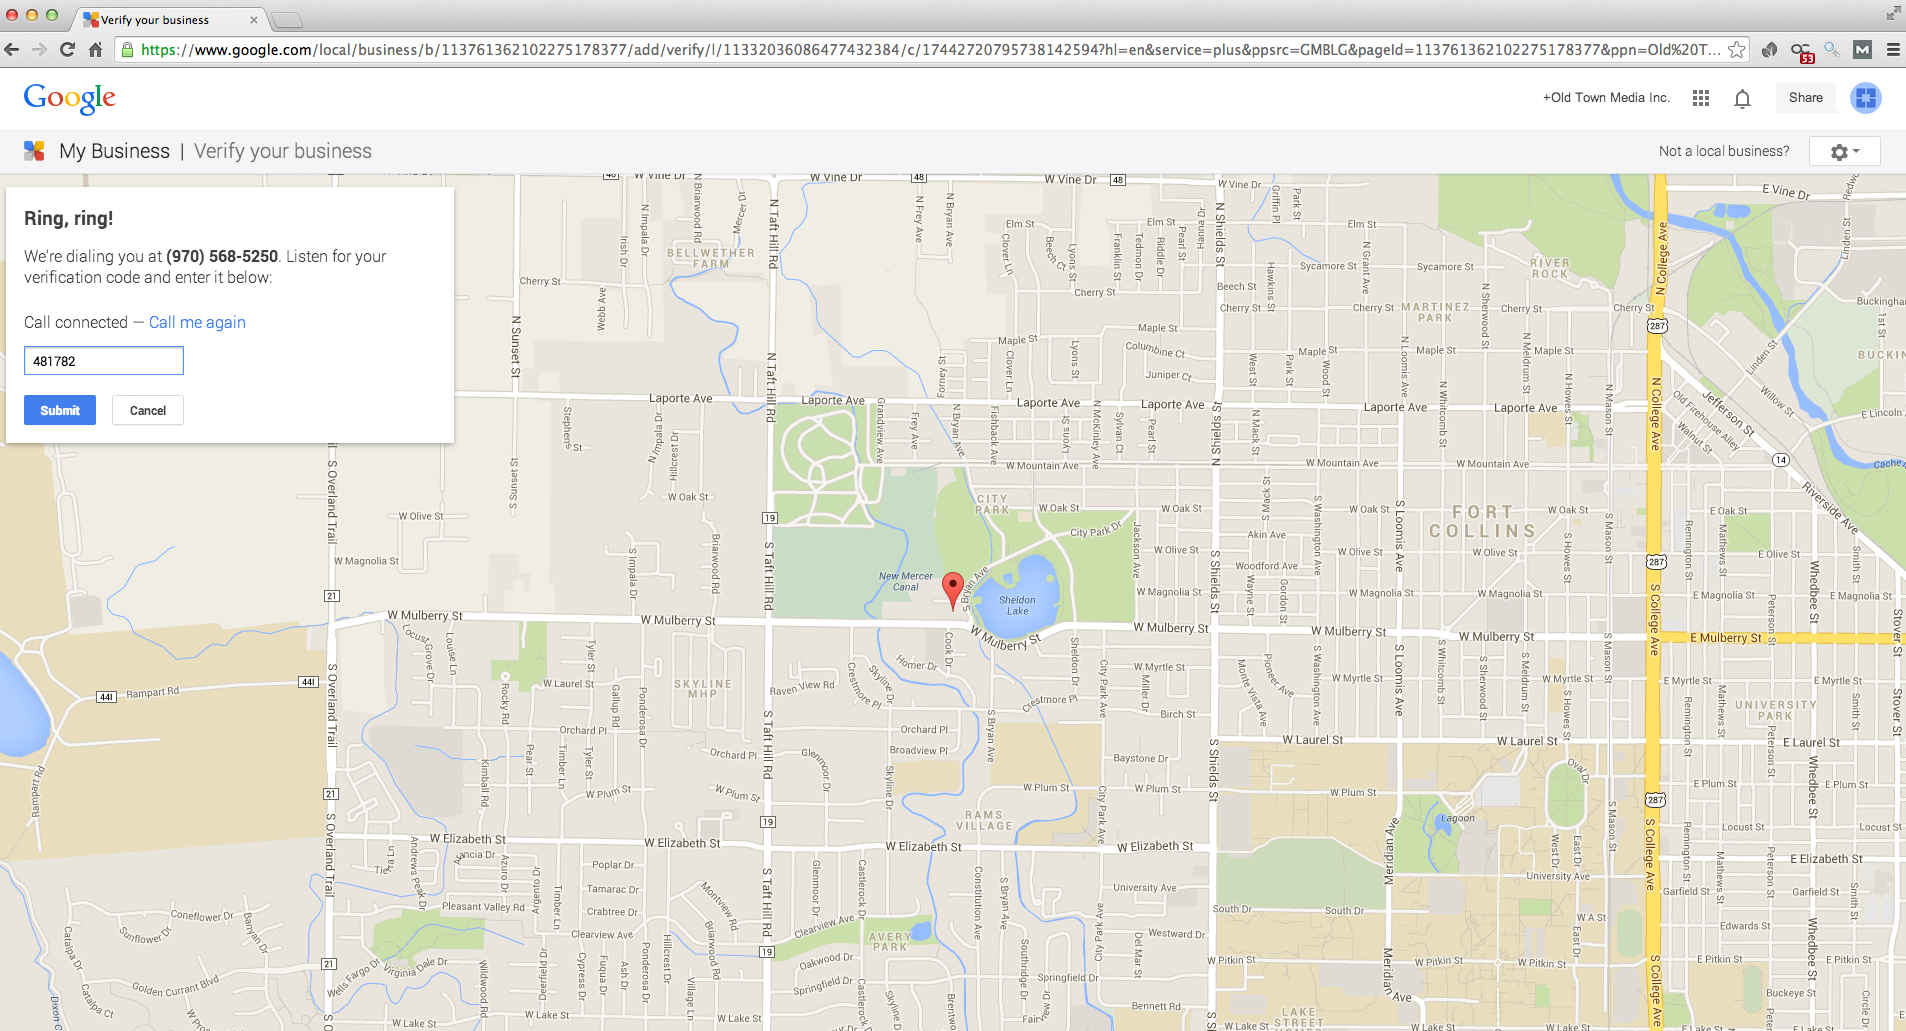
Step 9: Enter the code you receive over the phone or on the postcard (refer to Step 5 & 6 for postcard instructions).
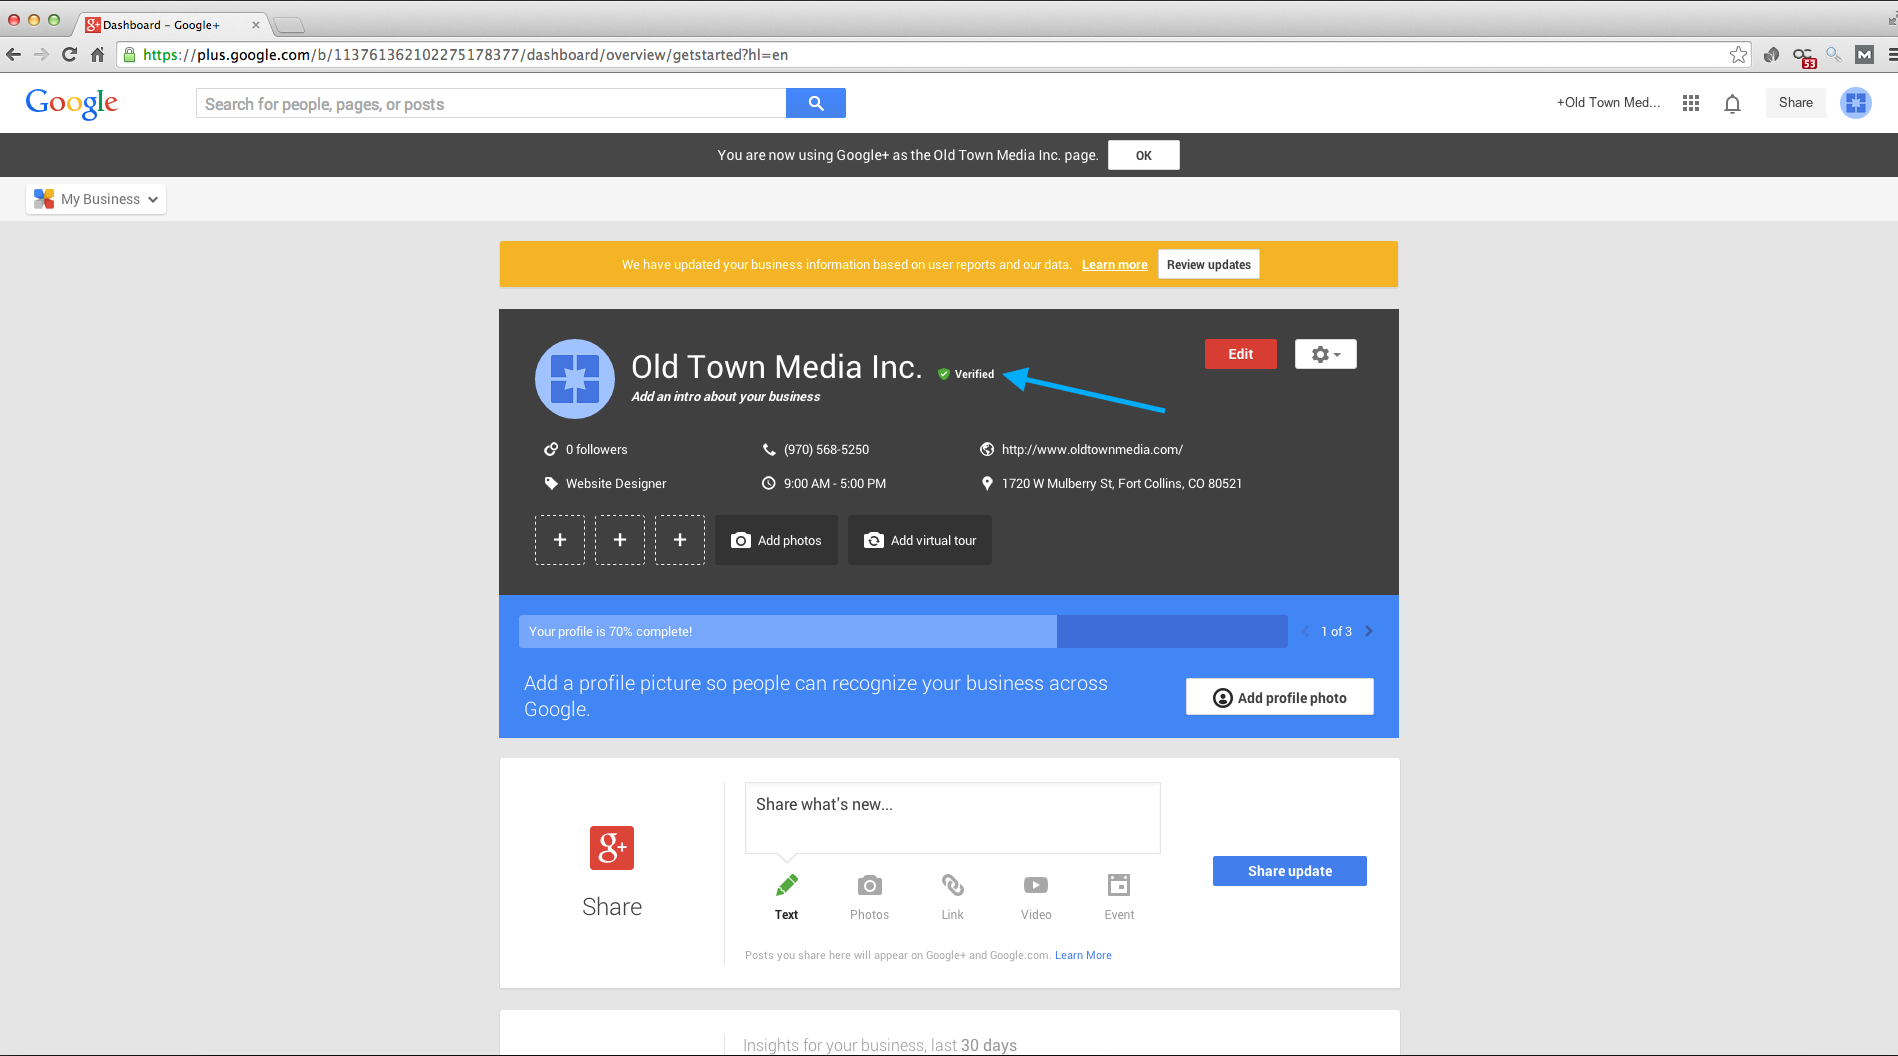
Step 10: And you are done! Once verified, you will see a check mark next to your business name and you can begin editing your page. If you scroll to the bottom of your dashboard page, Google also gives you the option to view your live listing on Maps and Google+. It may take a few days for updates to go live, but if you follow these 10 simple steps, your Google Listing will be visible to your customers in no time!